Welcome to the final guide in our intro website editing series! In this post, we'll cover how to manage the images on your site. High-quality visuals are essential for a great-looking website, and this guide will show you how to keep them fresh, optimised, and impactful.
Important notes before you begin
There are a couple of key things to keep in mind before uploading new images to your site:
- Website Performance:
Large, unoptimised image files are the #1 cause of slow websites. A slow site can negatively impact your search engine ranking and user experience.
The CMS does a great job at optimising images, however we strongly recommend optimising all images before you upload them for the best results. We've included tips on how to do this below, but if you're ever unsure, please contact our team for assistance.
Video guide
Join Rhys in this video as he demonstrates how to replace standard images, change background images, and use the built-in editor for quick crops and adjustments.
Written guide
Images can be used in two main ways on your site: as standard "foreground" content or as "backgrounds" for sections. The editing process is slightly different for each.
1. How to replace a standard image (foreground)
Images are most often managed through widgets. This applies to images in galleries, team photos, or any image placed directly onto the page as a piece of content.
- Click on the image (widget). This will open the widget settings panel, usually on the 'Content' tab.
- Click the 'Replace' button to open the Image Picker.
- From here, you can:
- Choose an image that has already been uploaded.
- Use the search bar to find an image by its file name.
- Click the 'Upload' button to add a new image from your computer.
Pro tip: If you are presented with a message saying that the widget is locked, there is a good chance that the images are being pulled from a collection / database. Contact us to assist with changing this, or to book in a custom training session where we can show you how these have been setup specifically for your website.
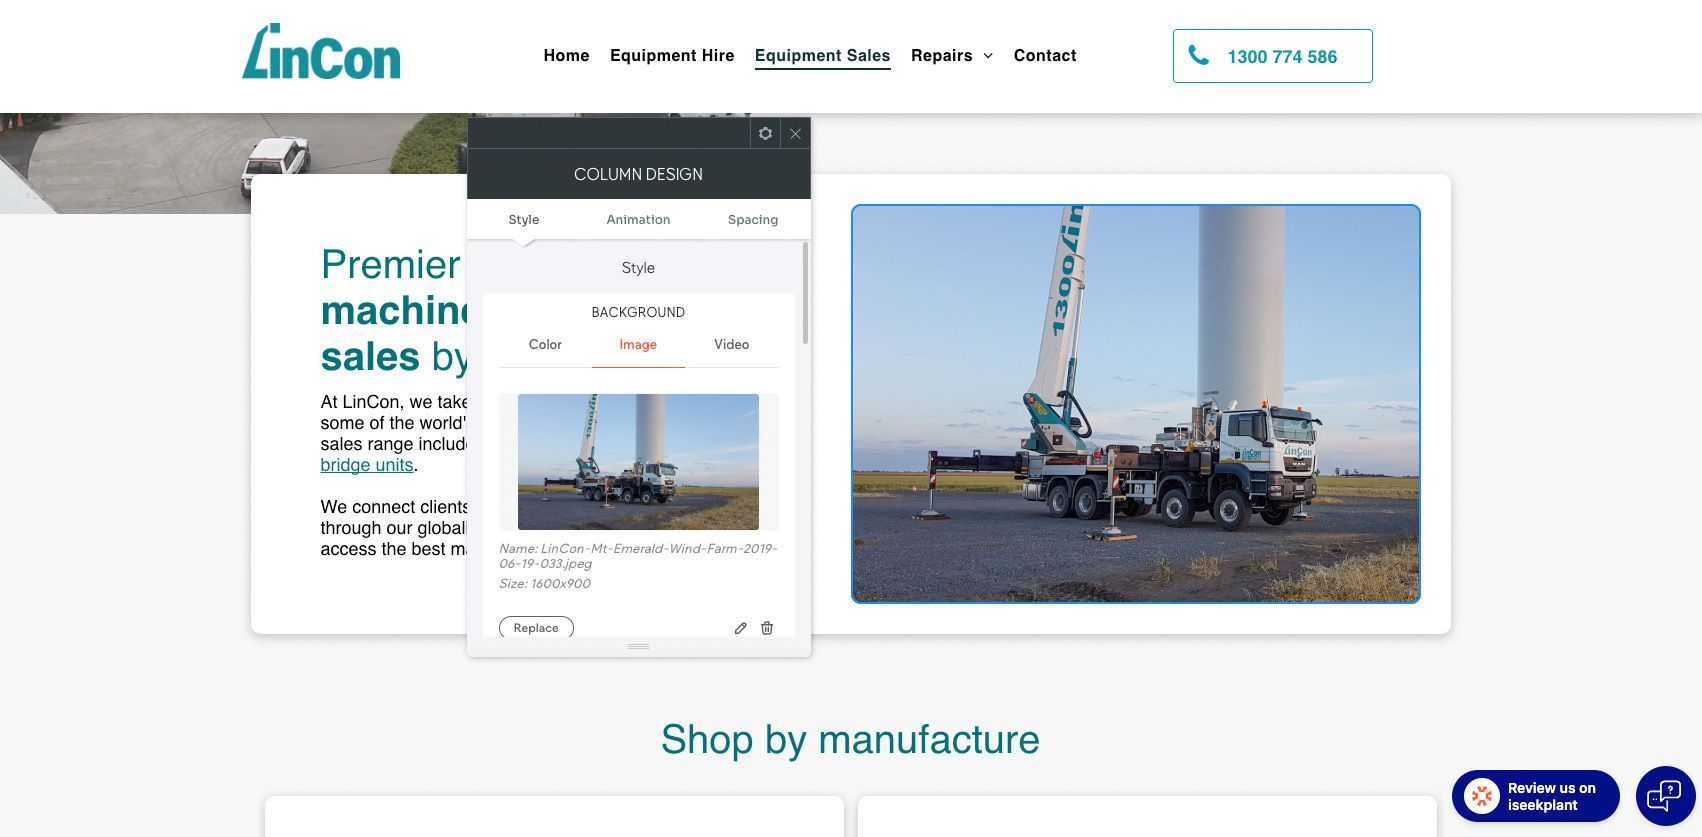
2. How to change a background image
This applies to large banner images or photos that sit behind text in a section (a 'Row' or 'Column').
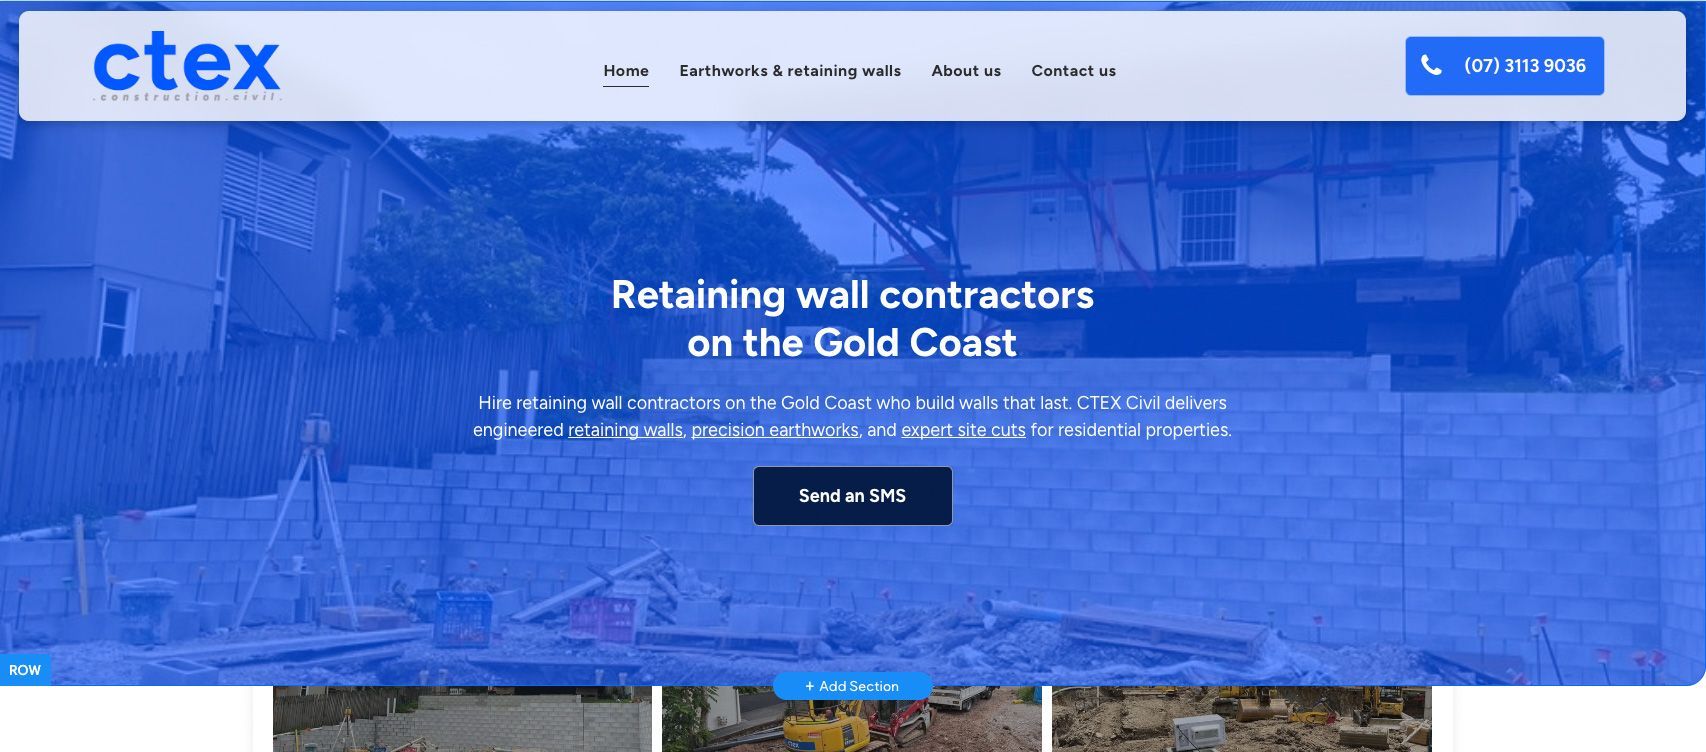
- Hover your mouse over the section with the background image you want to change, and look out for the blue
'Row' label on the top or bottom left side.
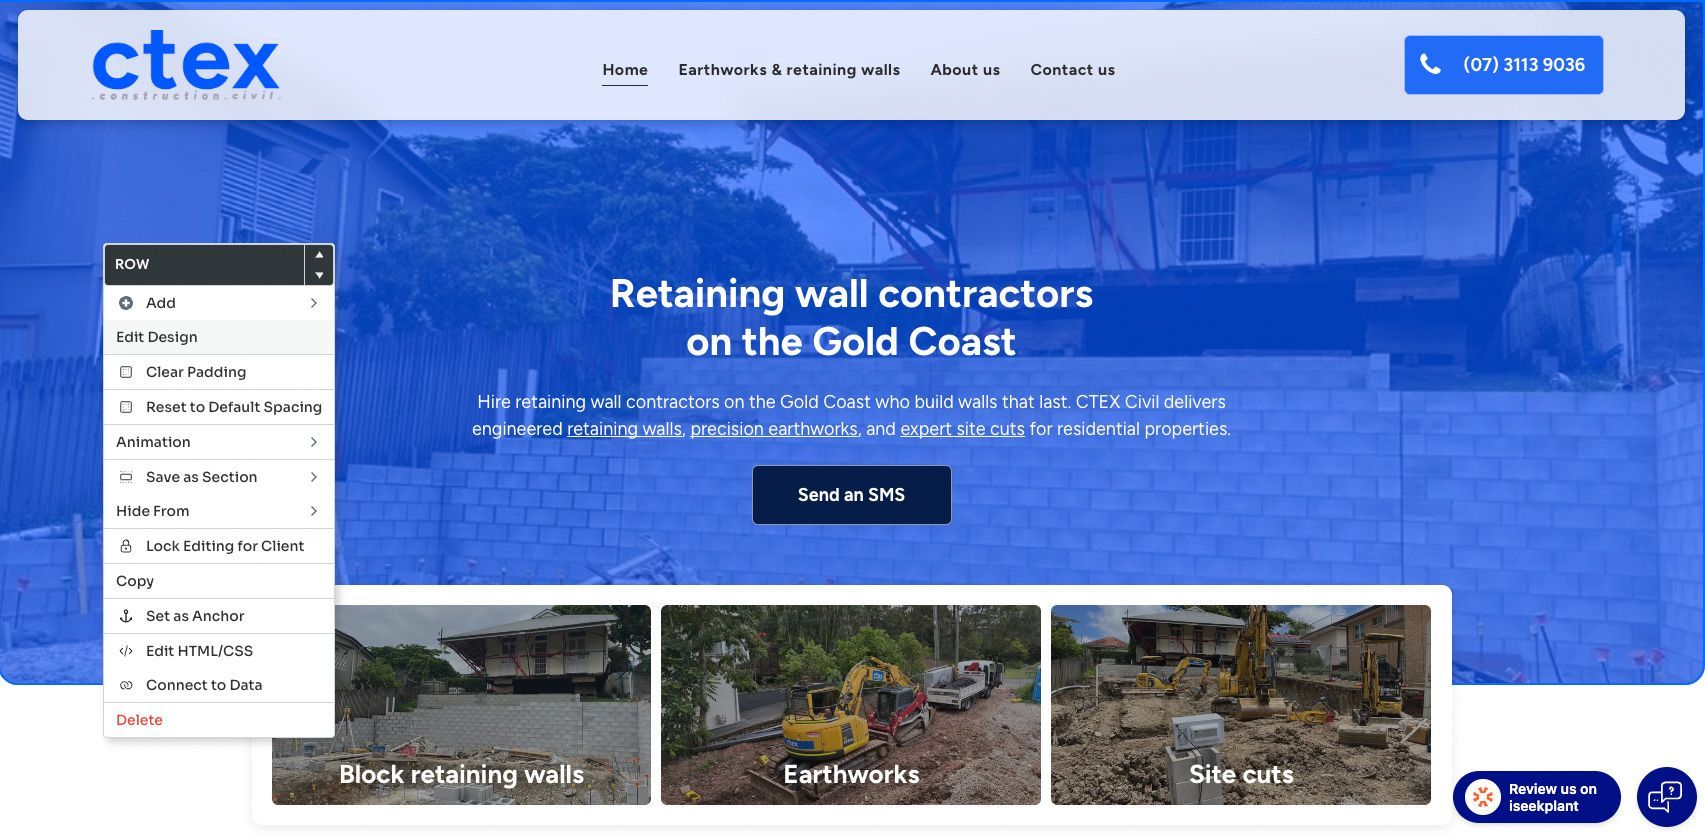
- Right-click on the blue 'Row' label.
- From the menu, select
'Edit Design'.
- In the Design Panel that opens, scroll down to the 'Background' or 'Image' section.
- Click on the 'replace' button or the image thumbnail to open the Image Picker.
- Select an existing image from the Image Picker, or click on the '+ Upload' button to add a new image to the website.

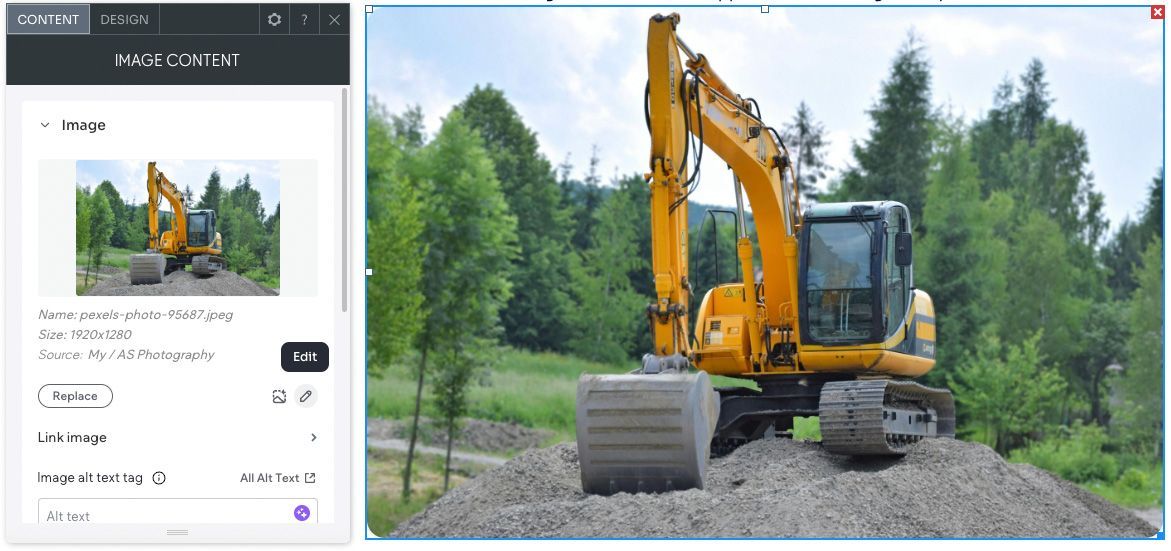
3. How to use the built-in image editor
The editor includes tools for making quick adjustments to your images after they've been placed.
- Click on a standard image to open its settings.
- Click the 'Edit' button (often found by hovering over the image thumbnail in the settings panel). This will open the Image Editor.
- Here you can perform basic tasks like
cropping,
resizing, and making colour adjustments.
Image best practices
To get the most out of your images, follow these professional tips to ensure SEO and performance optimisation.
Name your files descriptively
Before you upload an image, give it a descriptive file name. This makes it easier to find later and can help with Google Image search results.
- Bad example:
IMG_9481.jpg - Good example: rhys-excavations
-12t-excavator-hire-brisbane.jpg
Compress Images Before Uploading
Always reduce the file size of your images before uploading them. You can do this without losing quality by using free online tools.
- For PNG images: CompressPNG.com
- For JPG images: CompressJPEG.com
Congratulations next steps
You've completed the training series! You now have the core skills to confidently manage and update your website's most important content: text and images.
- Remember: If you ever get stuck or have questions, our support team is here to help.
- Final step: Bookmark
our guides page and check in frequently for updates.